Most people don’t look at a photo in one steady glance. Their eyes move around the frame, usually toward whatever is brightest first, and then along any edge or shape that seems to be heading somewhere. Leading lines work because of this. When there’s a road, a fence, or a string of lights running through the picture, the viewer tends to follow it without thinking, and as the photographer, you can make sure it takes them straight to your subject.
Leading lines photography is really about control. You’re using shapes that already exist in a scene to steer attention toward the part of the image you care about most. It’s one of the first composition techniques we teach in our classes, because once students start noticing lines, they see them everywhere. Below, we’ll walk through how to use those lines to point the viewer exactly where you want them to look.
Why Our Eyes Follow Lines
People have been using lines to direct attention for centuries. During the Renaissance, artists developed a system called linear perspective, in which parallel lines in a painting meet at a single vanishing point on the horizon. According to Britannica, the architect Filippo Brunelleschi is credited with devising it around 1415, and painters quickly used it to make flat surfaces feel deep. Those converging lines did something else, too. They pulled the viewer’s gaze toward whatever sat at the point where they met.
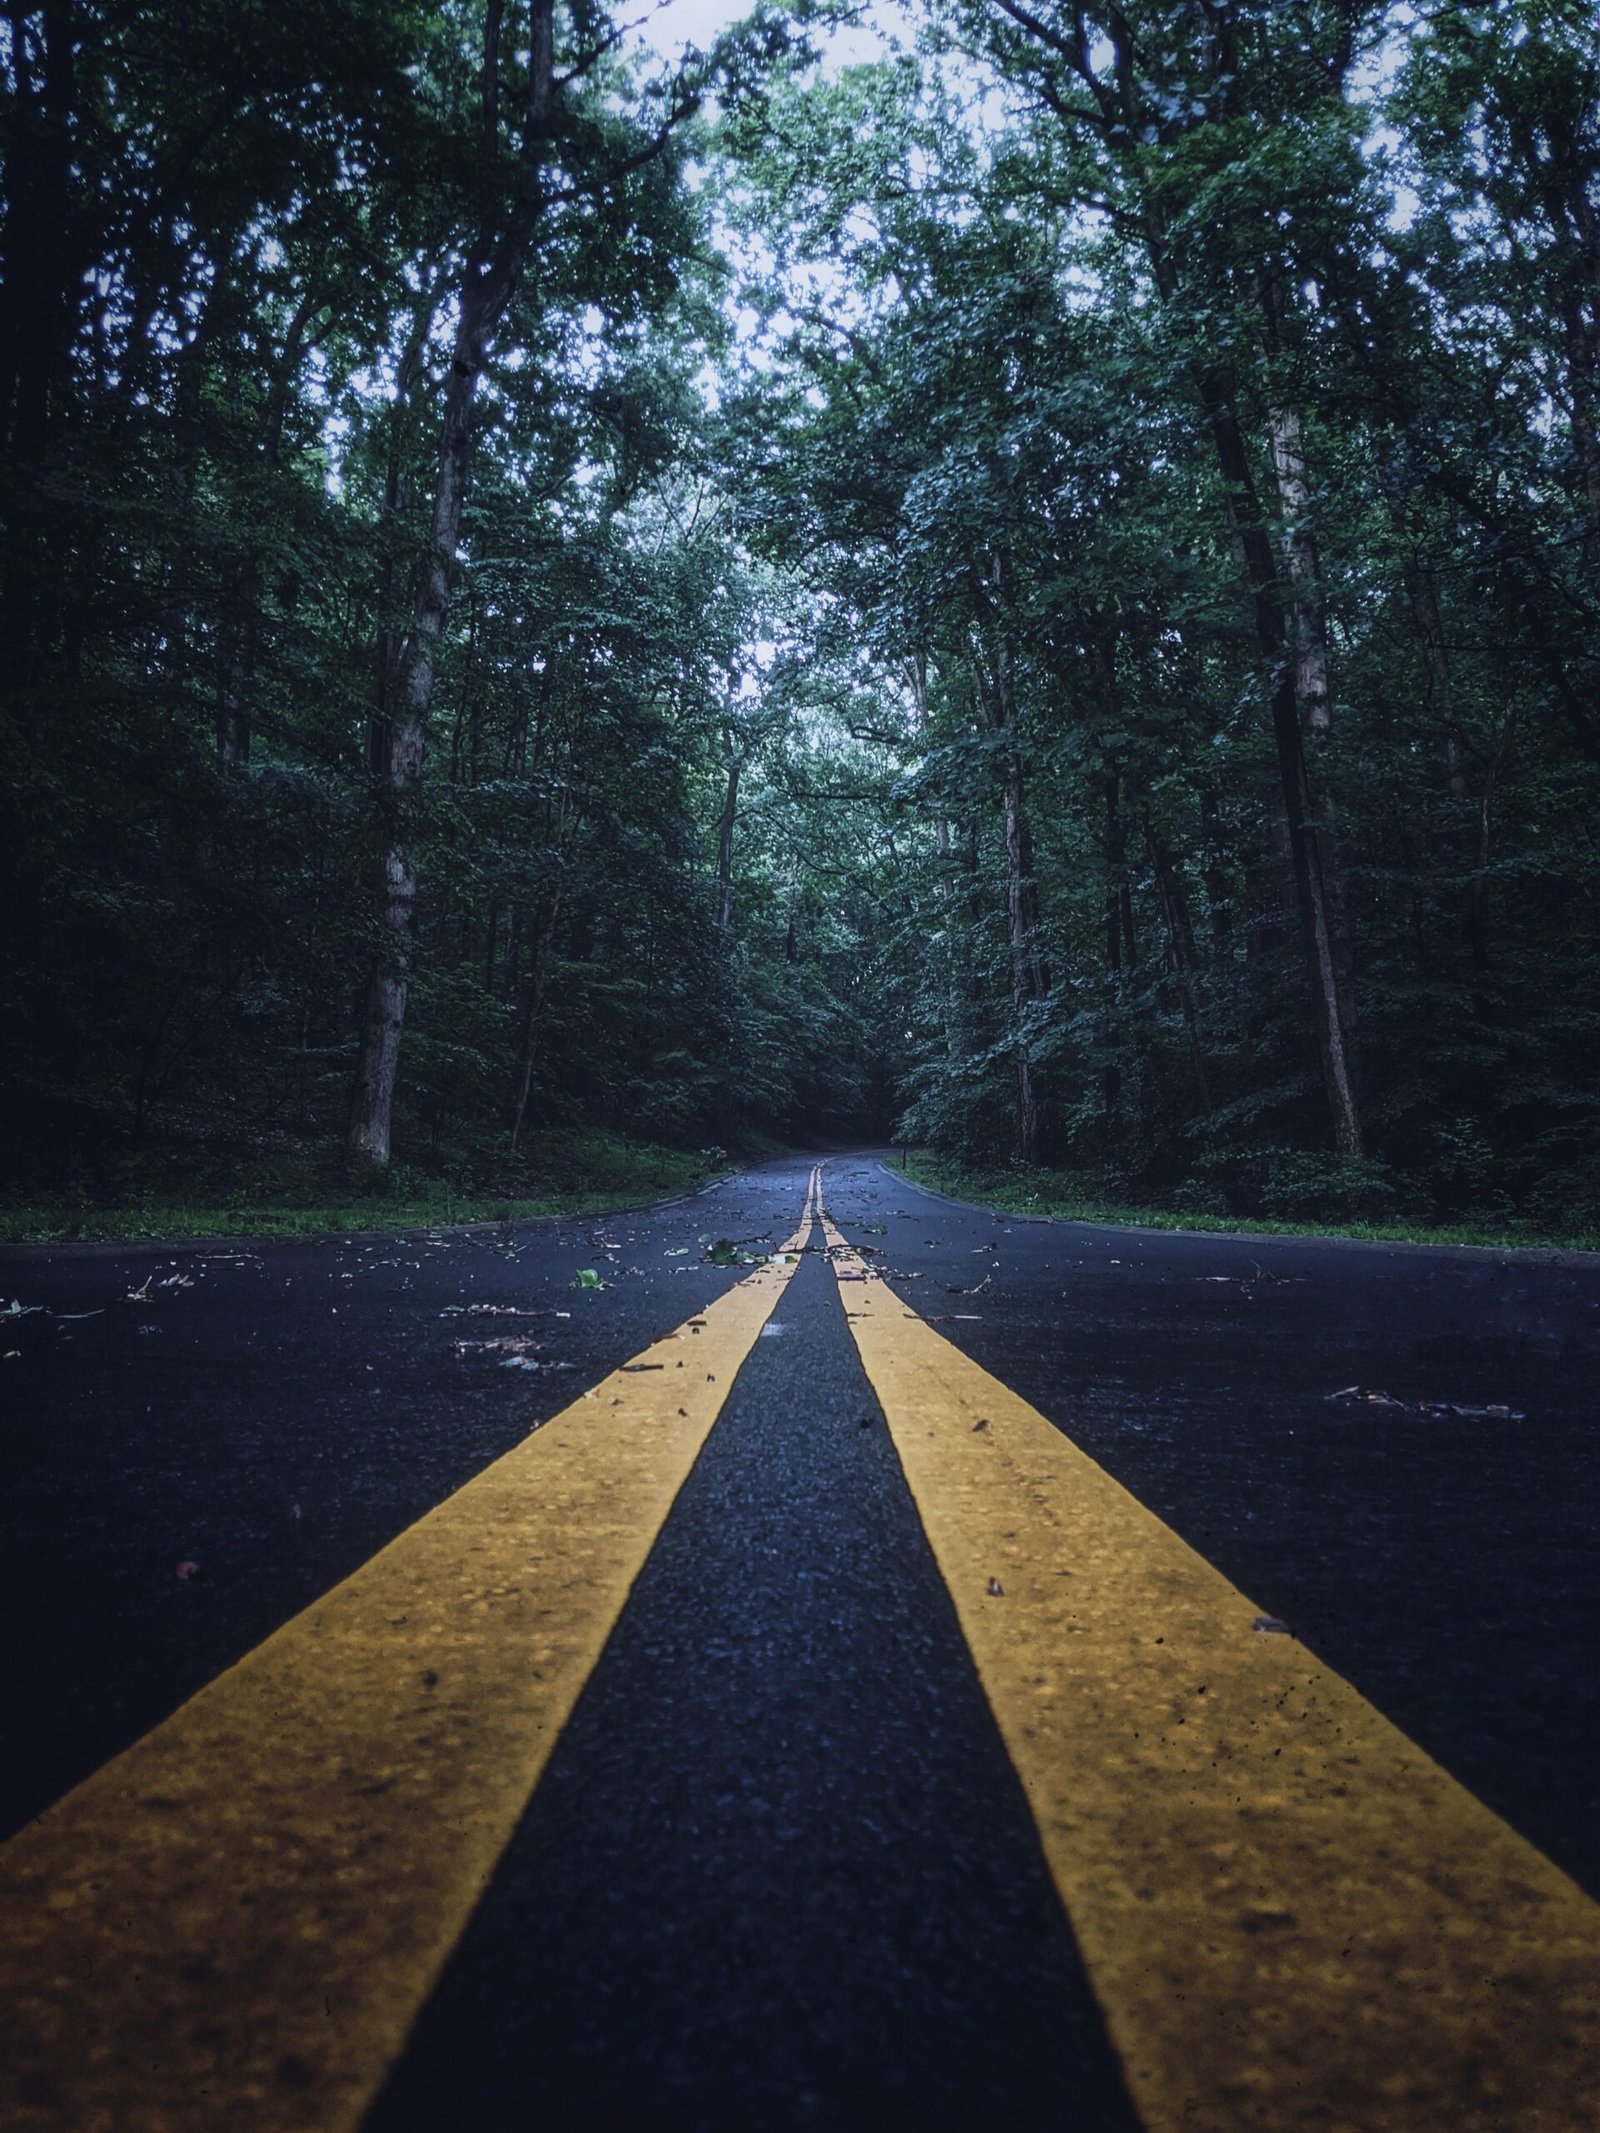
Cameras record the world the same way. Lines that run away from you appear to narrow and come together in the distance, so a photo of a long hallway or a straight road naturally has a built-in path for the eye. Your job as the photographer is to make sure something worth looking at is waiting at the end.
Start With the Subject and Work Backward
A common mistake is finding a great line and then hoping a subject shows up. It works much better the other way around. Decide what the photo is about first, whether that’s a person, a building, a tree, or a sunset. Then look around for lines that could lead toward it.
Photographer Felipe Silva describes this approach in Adobe’s leading lines guide, explaining that with architecture he finds the building first and then walks around it looking for lines that lead to it. That habit keeps the line in its proper role. It’s a guide, not the main attraction, and it should deliver the viewer to your subject instead of competing with it.
Place Your Subject Where the Lines Point
Once you’ve found a line, follow it with your own eyes and see where it goes. That spot is where your subject belongs. If you’re working with converging lines, like the two edges of a sidewalk or a set of train tracks, the point where they meet is especially strong. Anything placed right there will get noticed.
With portraits, it’s usually easier to move the person than to find new lines. You might have them take a couple of steps to the left so the curve of a railing lands right at their shoulder, or put them at the end of a hallway where the walls close in around them on both sides. It doesn’t take much. Moving someone even a foot or two can change how easily the viewer’s eye finds them in the shot.
Pay attention to where the lines go after they pass your subject, too. A line that shoots straight past the subject and out the edge of the frame will carry the viewer’s eye right out of the picture. If you can, compose so the line stops at or near your subject, or so another element in the frame blocks it before it exits.
Use Lines That Start Near the Bottom of the Frame
Most people look at a photo starting from the bottom or the lower corners, so lines that begin there have a head start. A path that enters from the bottom edge and moves up into the image feels like an invitation to walk into the scene. Lines coming in from the corners work especially well, since they tend to cut diagonally across the frame and cover more ground.
Getting low helps. Crouching down or placing the camera close to the ground makes foreground lines look longer and more dramatic, exaggerating how they stretch toward the background. A crack in the pavement that looks unremarkable from standing height can become a striking lead-in when your lens is only a few inches above it.
Pick the Right Kind of Line for the Feeling You Want
Different lines move the eye in different ways, and they carry different moods.
Diagonal lines are the most energetic. They pull the eye across the frame quickly and create movement and depth. Converging lines, like railroad tracks or the rows of seats in a theater, create a strong sense of distance and deliver the eye to a single point. Curved lines, like a winding path or a river bend, slow things down and let the viewer take a more relaxed route through the image. Vertical lines, like columns and lamp posts, tend to push the eye up and down and can make a subject feel taller or more imposing.
You can also create diagonals where none exist. Tilting the camera turns ordinary horizontal and vertical lines into slanted ones, which is exactly what makes a Dutch angle feel so dynamic. It’s a bold choice, so save it for images where some tension or energy fits the subject.
Choose a Lens That Strengthens the Lines
Your lens strongly affects how leading lines look. A wide-angle lens exaggerates the distance between the foreground and background, so lines that start near you appear to stretch dramatically into the scene. That’s why wide lenses are so popular for architecture, interiors, and street scenes with strong perspective.
A telephoto lens does the opposite. It compresses distance and flattens the scene, which can make converging lines look shorter and less dramatic. Telephotos can still work with leading lines, especially repeating patterns like rows of windows or stacked fences, but if you want lines that really pull the viewer in, a wider focal length usually works better.
Where to Find Leading Lines in Everyday Places
You can find good leading lines almost anywhere, and living in New York makes it even easier. Stand at the end of a subway platform and you’ll see the edge of the platform and the rows of columns all running toward the tunnel. The Queensboro and Brooklyn bridges are full of cables, railings, and walkways that make natural lines. Over in Long Island City, the piers at Gantry Plaza State Park point right at the Manhattan skyline, and in Flushing Meadows Corona Park, several of the paths lead straight up to the Unisphere.
Shadows can work as leading lines too. In the late afternoon, when the sun is low, the shadows from fences, light poles, and buildings get long and stretch across the street. They only last for an hour or so before the light changes, so it’s worth keeping an eye out for them. At night, you can even make lines out of light. If you slow your shutter speed down enough, the headlights and taillights of passing cars turn into long streaks that can lead the eye toward a building or a bridge.
Indoors, you’ll find leading lines in staircases, hallways, rows of tables, bookshelves, window frames, and even floor-tile patterns. In our studio, we sometimes use the edge of a backdrop or the line of a bench to guide attention toward the person in a portrait without them even noticing.
Keep the Lines From Taking Over
Leading lines are supposed to support the subject, so be careful not to let them become too loud. If the lines are more interesting than whatever they lead to, the viewer’s attention will get stuck on the lines themselves. Very busy scenes with lines running in all directions can also confuse the eye, since there’s no clear path to follow.
Simplify when you can. Choose one or two strong lines instead of a dozen weak ones, and reframe to cut out lines that lead nowhere or pull away from the subject. Before you press the shutter, trace the path your viewer’s eyes will take. If it ends somewhere boring, move until it doesn’t.
Practice Seeing the Path
The fastest way to improve with leading lines is to go out with one simple goal. Spend an afternoon photographing only scenes where a line leads to something, whether it’s a person, a doorway, a tree, or a sign. After a while, you’ll start noticing lines before you even raise the camera, and your compositions will feel more intentional without much extra effort.
If you’d like hands-on feedback, Dan Doyle teaches photography courses out of our studio in Queens, and composition is a big part of what we cover.