Tilting the camera might seem like one of the simplest things you can do on a video shoot. You loosen the tripod head, rotate the camera, and start recording. But getting a Dutch angle to look right on screen takes more thought than most people expect. How far you tilt, which way the frame leans, whether the camera moves, and what shots come before and after all affect whether the result looks intentional or like someone forgot to level the tripod.
Tilted framing comes up a lot in our work at the Queens studio, whether we’re shooting a music video, a promo for a local business, or a short film. Our video students ask about it all the time, too. Below is the process we use on actual shoots to set up, frame, move, and edit a Dutch angle, along with a little background on why each step matters.
A Quick Refresher on the Dutch Angle
A Dutch angle is pretty simple at its core: you turn the camera sideways so the horizon isn’t level anymore. Some people call it a Dutch tilt; others say canted or oblique angle, but it’s all the same shot. Once you tilt, everything in the frame that’s normally straight, like walls, doorways, and the skyline, starts running at a slant. Your subject can be standing perfectly still, and they’ll still look like they’re leaning.
The name is a mix-up of Deutsch, the German word for German. The look grew out of German Expressionist cinema, and Britannica identifies The Cabinet of Dr. Caligari (1920) as the first film of that movement, with its famously warped, slanted sets. That’s all the history you need to shoot one. Everything below is about execution.
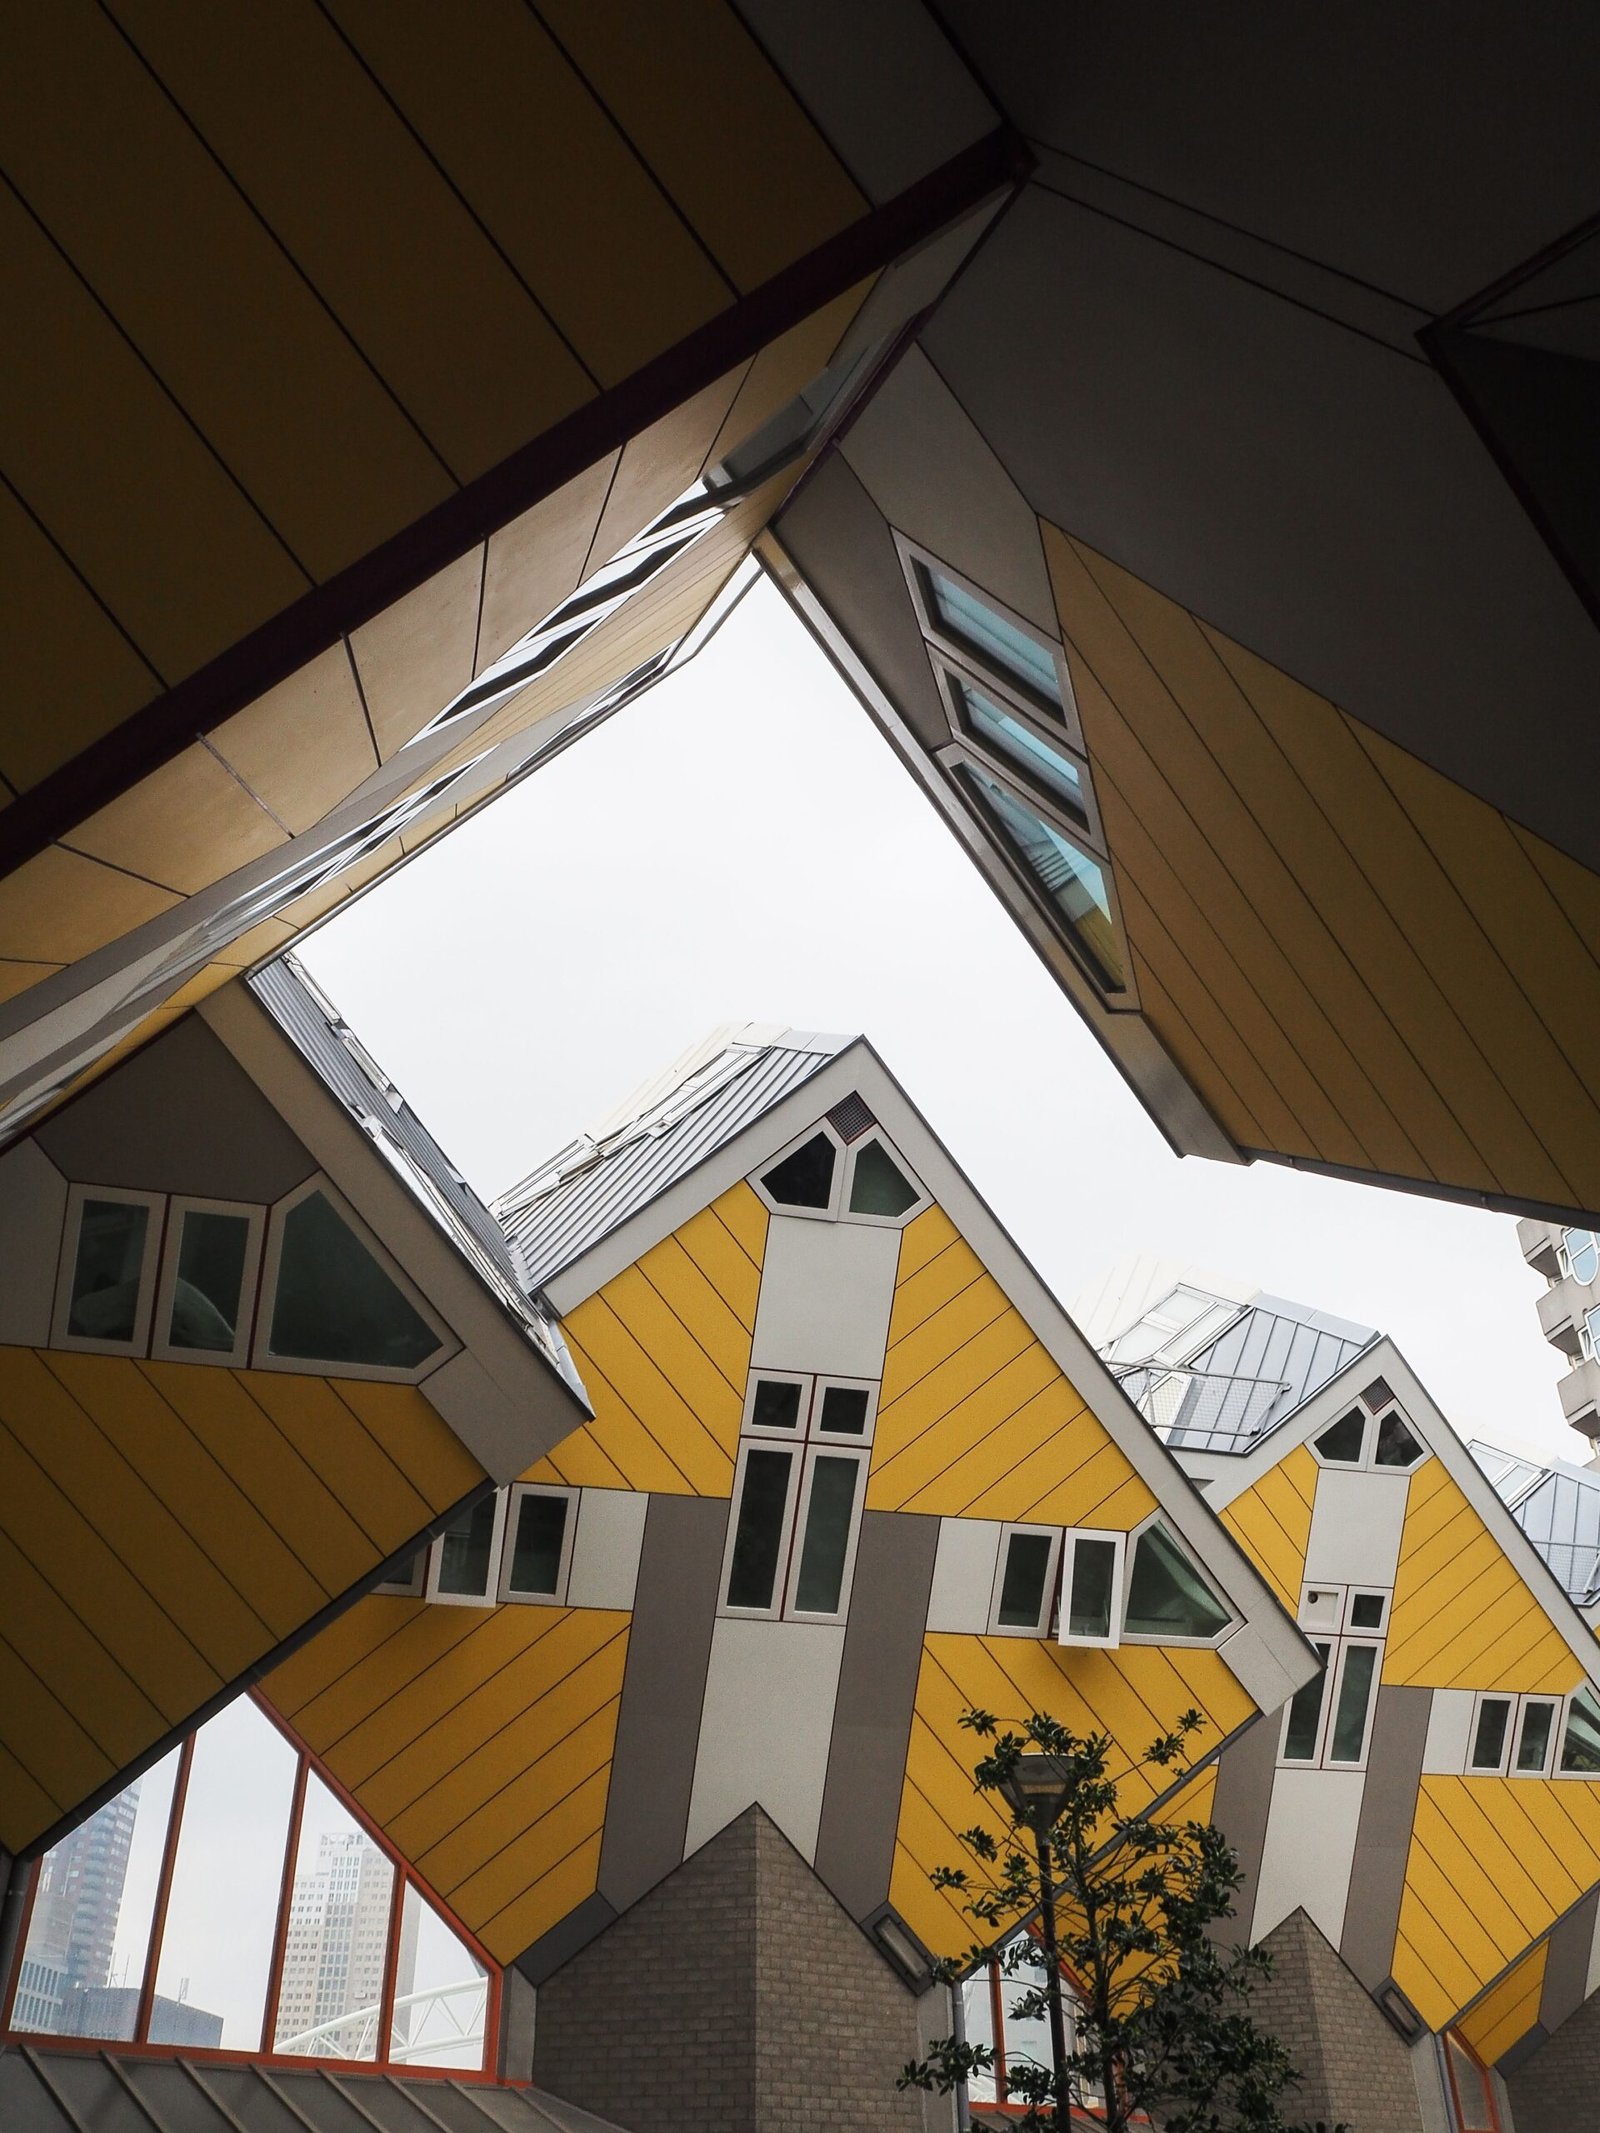
Step 1: Decide What the Tilt Needs to Say
Before you tilt anything, ask yourself why the shot needs it. If there’s no real reason, people watching will probably just think you made a mistake. The folks at No Film School say the same thing: the tilt should come from what’s going on in the story. Save it for a few moments that really matter, and it’ll hit a lot harder than if you use it all over the place.
Common reasons to reach for a Dutch angle in video include:
- Tension: a conversation where something is off, a threat nobody has named yet.
- Disorientation: a character who is confused, injured, drunk, or panicking.
- A power shift: the moment a scene turns and someone loses control.
- Energy: performance shots in music videos, dance, or sports, where the diagonal adds momentum rather than dread.
Write the reason into your shot list next to the shot. If you can’t fill in that blank, shoot it level.
Step 2: Choose How Much to Tilt
The degree of tilt controls how loudly the shot speaks. As a rough guide:
- 5 to 10 degrees: subtle unease. Viewers feel it more than they notice it.
- 15 to 25 degrees: clearly intentional and dramatic. This is the range most narrative Dutch angles live in.
- 30 degrees and beyond: stylized and bold. Great for music videos and dream sequences, but easy to overdo in anything grounded.
Avoid tilts of just a degree or two. They don’t read as a creative choice. They read as an unlevel tripod, and viewers will assume the operator made an error.
Step 3: Choose Which Way It Leans
Direction matters more than most people expect. In Western cultures, we read frames left to right, and many cinematographers feel that a horizon rising to the right feels more hopeful or energetic, while one falling to the right feels heavier and more ominous. That’s a tendency, not a rule, but it’s worth testing both directions on the monitor before you commit.
Direction matters even more across a scene, which we’ll cover in the editing section below.
Step 4: Set Up Your Gear
On a Tripod
A tripod gives you the most control and the most repeatable result.
- Ball head: the easiest way to dial in any tilt. Loosen, rotate, lock.
- Fluid head with a leveling base: level the base first, then add the tilt with a Dutch head or tilt plate between the head and camera. This lets you keep smooth pans while holding the angle.
- L-bracket or rotating collar: useful for heavier setups where you want to rotate the camera around the lens instead of flopping the whole rig sideways.
Level the tripod before adding any tilt. A level base is your reference point. If the base itself is off, your angle will drift every time you pan.
On a Gimbal
Most modern gimbals can hold a fixed roll angle. Many let you adjust the roll through a joystick or companion app, and some can rotate the camera smoothly during a move. Two tips:
- Rebalance after changing the roll angle if your gimbal requires it, or the motors may struggle and jitter.
- Rehearse the move at the chosen angle before rolling, since walking paths and obstacles look different in a tilted frame.
Handheld and Shoulder Rigs
Handheld Dutch angles feel raw and immediate, which suits documentary, event coverage, and chaotic moments in a narrative. The challenge is consistency. Pick a physical reference, like tilting your shoulder rig until a specific point on the frame lines up, so you can repeat the angle across takes.
On a Phone
Phones can do Dutch angles perfectly. Turn off any auto-leveling or horizon-lock stabilization feature first, since it will fight the tilt. A small tripod with a ball head or a phone gimbal with roll control makes the angle much easier to hold.
Step 5: Frame the Shot
Frame Level First, Then Tilt
Compose the shot level, then rotate. This way you know your subject is well placed before the tilt adds its complication, and you can easily return to the level version for a safety take.
Compose Along the Diagonals
Once the frame tilts, horizontal and vertical lines become diagonals, and diagonals pull the eye. Use them to lead toward your subject: a slanted doorframe, a staircase, a row of windows. Urban locations are especially rewarding. In New York, building edges, subway railings, and bridge cables turn into strong leading lines the moment you rotate the camera.
Watch the Corners and Headroom
Rotation moves the corners of the frame, so parts of your subject can slip out of shot. Check hands, feet, and the top of the head. Leave a little breathing room so the edit has something to work with.
Lock Focus and Exposure
Tilted frames often put bright sky or dark ground into different parts of the image than you expect. Set exposure manually and lock focus once you’ve composed, so the camera doesn’t hunt when the actor moves.
Step 6: Add Movement (Carefully)
Moving Dutch angles are where the technique gets exciting, and where it’s easiest to lose control.
Pans on a Tilted Camera
If your tripod base is level and you add tilt above the pan axis, you can pan, and the horizon angle stays consistent. If the base is off, the horizon will swing as you pan, which looks sloppy.
Rolling Into or Out of a Tilt
Starting level and slowly rolling into a Dutch angle during a shot is a powerful way to show a situation going wrong in real time. The reverse, rolling back to level, can signal relief or clarity. Gimbals with roll control handle this smoothly. On a tripod, a Dutch head makes it possible.
Tilt Moves
Tilting up or down with a canted camera sends the image across the frame diagonally, not straight up. That can look great, but rehearse it, since subjects travel through the frame in unexpected ways.
Step 7: Plan the Edit
A Dutch angle doesn’t exist in isolation. It lives between the shots before and after it, so plan your coverage with the cut in mind.
Match or Oppose Your Tilts on Purpose
In a two-person scene, tilting both angles the same way can make the whole world feel off balance. Tilting them in opposite directions makes the characters feel set against each other, which works well for arguments and confrontations. Avoid mixing directions randomly, which just feels messy.
Contrast With Level Shots
Tilts hit hardest when they break from a level baseline. Establish the scene with conventional coverage, then introduce the Dutch angle at the moment the story turns. If every shot is tilted, none of them stand out.
Always Grab a Level Safety Take
Tilts that looked great on set sometimes feel like too much in the edit. A level take of the same setup gives you options without a reshoot.
Adding Tilt in Post
You can rotate footage in any editing software, but you’ll need to scale up to hide the empty corners, which costs resolution and changes your framing. Shooting in 4K for a 1080p delivery gives you room to do this cleanly. Still, a tilt planned and shot in camera almost always looks better than one added later.
Common Mistakes to Avoid
- Tilting without a reason. The shot should serve the story, not decorate it.
- Too little tilt. A barely-there angle looks like an error.
- Overuse. Once viewers stop noticing the tilt, it has stopped doing its job.
- Inconsistent angles within a sequence. Note your tilt amount and direction so reshoots and pickups match.
- Letting stabilization fight you. Turn off horizon leveling in cameras, phones, and editing software before you shoot or grade.
Planning helps with almost all of these. Our post on getting your studio ready for a big shoot covers the prep work that leaves you time to experiment with angles like this on the day.
Put It Into Practice
The best way to learn the Dutch angle is to shoot the same short scene three ways: level, with a subtle tilt, and with a dramatic one. Cut them together and watch how the mood changes. Once you feel the difference, you’ll know exactly when a tilt belongs in your work.
If you have a project coming up and want a team that knows when to tilt the frame and when to keep it level, check out our video services in Queens.